Every time we introduce a brand new decoration collection such as Halloween Hosts, the Mad Geniuses in the AtmosFX Developmental Dungeon start cooking-up amazing new ways to present this new decoration. Typically we give them about 15 minutes to engage in this frivolity before we shout “break’s over!” and tell them to get back to their dungeon workstations and START MAKING MORE AWESOME DECORATIONS!!!
Still, in those few moments, they come up with some pretty good stuff. Like this DIY Crystal Ball that just begs to have Halloween Hosts projected onto it.

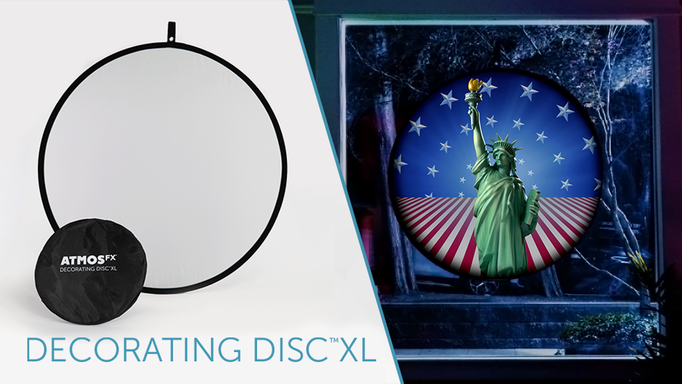
Halloween Hosts has two display modes – Decorating Disc and TV/Monitor – that will look great with this crystal ball. Projections in Decorating Disc mode are cropped in a circle, so the entire frame of the decoration will fit perfectly within that circle. The TV/Monitor mode focuses only on the head of each character, which will allow you to create a stunning Haunted Mansion Madame Leota look.
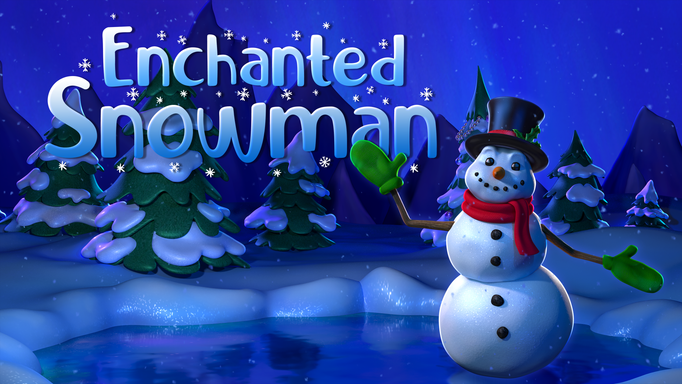
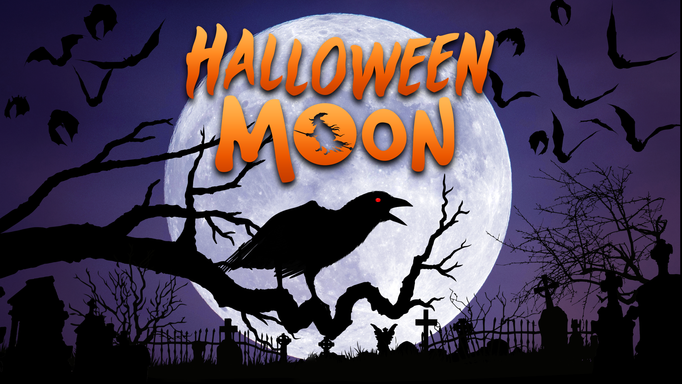
And remember, any AtmosFX Decoration that features “Decorating Disc” mode will also work with this crystal ball, like Enchanted Snowman, Hoppy Easter, Celebrations America or Halloween Moon decoration collections. You can always go to the Decorating Disc XL product page to see an updated list of all AtmosFX products that optimized for projection as a circle. (Don’t worry that the Decorating Disc XL is much larger than this crystal ball – all you really need to know is what AtmosFX Decorations are optimized in circular format.)
Let’s get started! We’ve got step-by-step directions on how to make this yourself – it’s easy.
Materials Required
- 2 Clear plastic hemispheres
- Liquid super-glue (for plastics)
- Tape
- Scissors
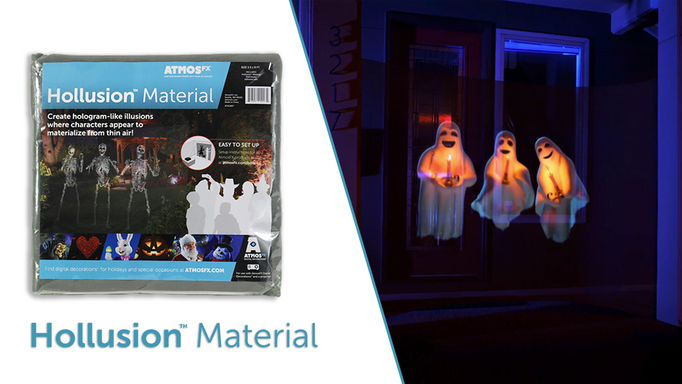
- Hollusion Projection Material or similar
- Styrofoam ring(s)
Steps
Start with placing one of your two plastic hemispheres on a table with the wide, open side facing up. We used 16” diameter spheres but feel free to use a size that’s right for your decoration display. You can find clear plastic hemispheres at most craft stores, or just search the internet.

Cut a square section of Hollusion Projection Material (or similar material) large enough so that it will cover the open sphere and all four corners can be taped to the flat surface you are working on. Taping down the corners allows you to make sure the projection material is spread out evenly across the sphere – eliminating any wrinkles. Wrinkles are not good!

Once you have accomplished this, take your liquid glue (we recommend some kind of super-glue that is specific for use with plastics; make sure it dries clear!) and spread it around the rim of the hemisphere. If you prefer, you can also put the glue on the top of the projection material, entirely around the rim of the other hemisphere. Either way, the glue should soak through the porous material and saturate the other plastic rim.

Next, place the second hemisphere in contact with the initial hemisphere, creating a sphere. Press and hold firmly for a while so that the glue you just used to adhere the material also adheres to the other half of your sphere. We recommend letting this stand for several minutes to ensure it dries completely. Please follow the instructions that come with your glue, but it never hurts to give it extra drying time.
This is a good time to step back and assess your work. If it looks like a ball, then you’re in great shape. Pat yourself on the back and let the glue dry completely. This is a good time for a nap.


Once the two halves are glued together, take your scissors and trim the extra projection material as close to the diameter of the sphere as possible.

Now it’s time to make the base. There are many objects that can act as a base for your crystal ball, so let your imagination and creativity run wild. In this example we used styrofoam rings that can be found at most craft stores – we found ours in the aisle that has the artificial flowers. We stacked two rings on top of each other to give it a little height – you can glue the rings together, if you choose.

Now simply place your crystal ball in the holder. You will want to adjust the crystal ball so that the Hollusion Projection Material inside is pointed toward your projector. Do not glue the crystal ball to the base – you always want to have the option of adjusting the crystal ball so that it perfectly picks up the image from the projector.

Now you are ready to display AtmosFX Decorations onto this unique prop! Pat yourself on the back again, and prepare to answer a lot of questions about how you made it. If you need to take another nap, go for it – you’ve earned it.