Window decorations are easy — just hang your Window Projection Material, point the projector, and you’re pretty much done! However, many decorators also want to set up decorations in a bay or corner window. Creating a display in these settings can deliver some great dimensional effects, but it does take a little extra planning. In this article, we’ll talk about different ways you can approach decorating in a dimensional window.
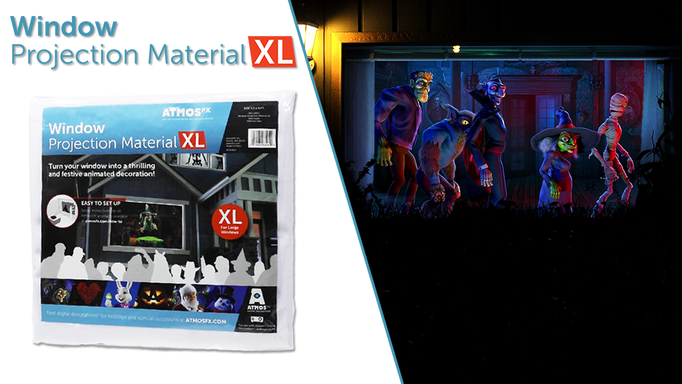
One important trick to getting a great effect in your corner or bay window is to ensure the projection material covers the entire view into your window, from every angle. If you can see the edge of the material, it may spoil the effect. Window Projection Material XL and Hollusion Projection Material are great options if you’re working with a large window, because they measure 9 feet by 5.5 feet.
Corner Windows
If you have a corner window in your home, it may seem like you have to pick only one window to decorate. However, there are actually two options for a full display.

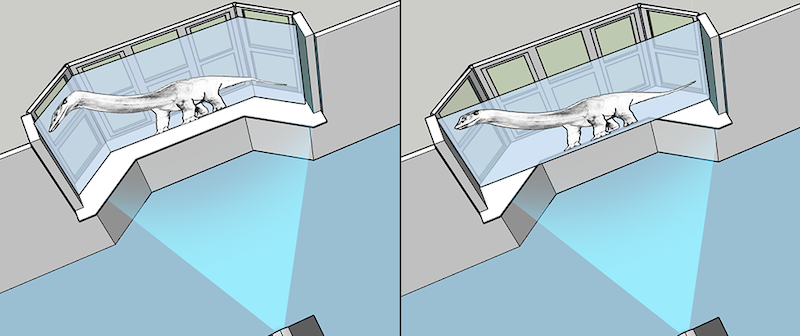
Option 1 - Hang projection material directly against your window
This will cause some visual enlargement in the middle window, and depending on the size and depth of your bay windows you may have some focus softening on the edges. However, all of this can add to a cool, dimensional look.
Option 2 - Hang projection material from the edges of your window
The second option is to hang a piece of projection material diagonally from the far edge of the left window to the far edge of the right window. A large dowel or curtain rod works great to secure the material between the two edges, or you may be able to simply hang the material from its grommets using a hook or nail.
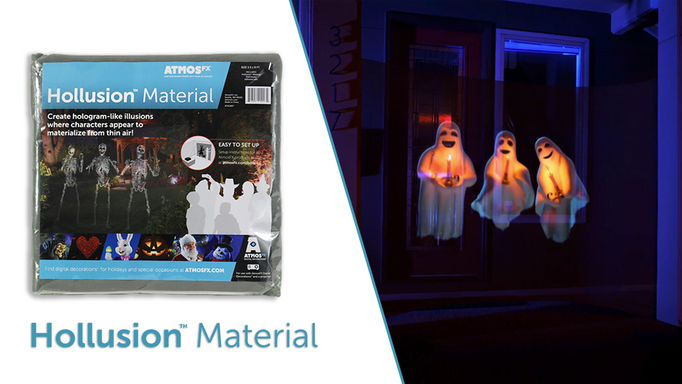
This second method is especially effective with Hollusion Projection Material, because it will look like your decoration is really happening inside of your house!
Bay Windows
Bay windows are a common feature in many homes, and the same creative choices apply here. As with corner windows, you have the option to hang material directly against the window, or from edge to edge.

Keep in mind that this can create some differences in focus and magnification between the middle panel and the side panels. With the right decoration, you can use this effect to your advantage. Play around with different decorations, projector positions, and keystone adjustments. You might be surprised when that “problem” turns into a great effect.
When you find a good look, we’d love to see it! Send us your links, videos, and high-resolution photos using this simple online submission form. As always, if you need a bit of help or some suggestions, check out our support page at atmosfx.com/support.
Read more:
Digital Decorating 101: Decorating in Different Window Shapes, Part 1 (Split Windows)


