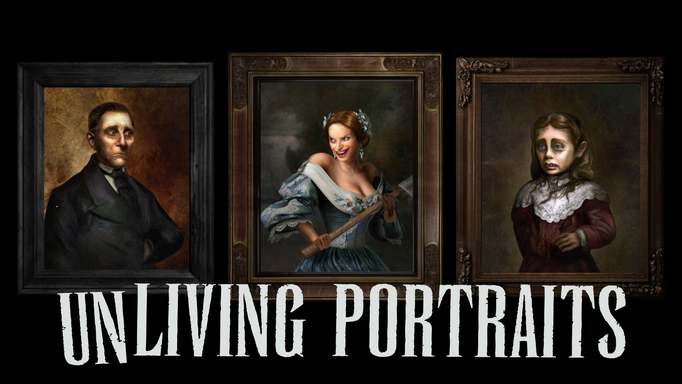
Our series of behind-the-scenes videos for Zombie Invasion! gave you an inside look at what goes into creating an effect that integrates live-action footage with CGI. This week, we'll give you a peek at how our team created UnLiving Portraits, one of our most popular digital decorations.
Before we get started, here are a few fun facts about our team – both of our creative directors are named Pete (which can get confusing at times, even for us). They met each other at MTV, where Pete Reichert worked as a producer on Beavis and Butthead and Pete Williams worked as a 3D artist on a bunch of different TV shows (he was also creator of the animated series, Undergrads).
Anyways, to get the story about how UnLiving Portraits came to be, I asked Pete Reichert what the inspirations and goals were for the project. Here’s what he had to say.
Bringing an Idea to Life
“Prior to UnLiving Portraits, we’d done several custom transformation effects for the entertainment industry,” he said. “These kinds of effects are a lot of fun to work on because they really let you stretch your imagination. You’re taking a human and using your creativity to morph them into something completely different.”
As far as features go, Pete emphasized the team’s focus on interactivity. “Our other collections had effects that were cool to look at, but for UnLiving, we wanted to create characters that would actually interact – both with each other and their audience. This allowed us tell a story about the family, which provides a fun and unique twist for people watching them.”
Versatility was the final goal. “We wanted to build a decoration that looks equally awesome displayed on any equipment, whether that’s a projector, a TV, or a monitor. We’ve already heard of people using UnLiving Portraits in really creative ways. At the West Coast Haunters Convention, we talked to a woman who plans to dress her family up like the characters in UnLiving Portraits to add a whole new depth of realism for her house guests. It’s amazing to see what fans come up with.”
Once the project was a go and all of the details were worked out, it was time to start building!
Step One: Concepting
To kick things off, our other Pete, Pete Williams, started creating concept art to flesh out what each character would look like. See what he did with our beautiful debutante, who would later be a featured character in “Withering Heights”.

Step Two: Storyboarding
After the full family was created and Pete got the thumbs-up from the rest of the team, he moved on to sketching out storyboards to block out the action for our animators, Chanelle, Paul, and Joel. Check out the ones he did for the scene that would eventually become “Family Feud”.


Step Three: Modeling
When the storyboards were completed, Pete jumped into Cinema 4D, our preferred modeling program, and started building each character. Here's a cool shot of the debutante in one of her early phases.

Steep Four: Texturing
The next step in preparing a character model for animation is texturing, which takes the default grey model and adds all of a character’s skin, hair, and clothing. It’s a complicated process, but textures are essentially painted onto flat images, which are then “wrapped” onto the 3D model. Take a look at the face in the top right corner of the image below. You’ll notice that it looks stretched out and strange, but when it’s placed on the head, it covers it like a tight-fitting mask, molding to the contours of the face.

Step Five: Rigging
The final step that needs to happen before animation is “rigging” each 3D model. In animation, rigging is basically creating a skeleton for a character. By building a structure of “bones”, Pete was able to create the underlying framework that would allow the animators to bring each character to life. Here’s our debutante with her rig in place.

Step Six: Off to the Animators!
Once Pete was finished preparing the characters, he passed their models over to the animators, who started building what would eventually turn into the final effect! Stay tuned for next week’s article, where I’ll chat with the animation team and give you a look at how everything came together.
Pretty cool stuff, huh? As you can see, a lot of work goes into creating every one of our decorations!
We’d like to extend a huge thanks to the crew over at Halloween Forums for being the inspiration behind these articles. We can’t wait to see how you end up using UnLiving Portraits this year!