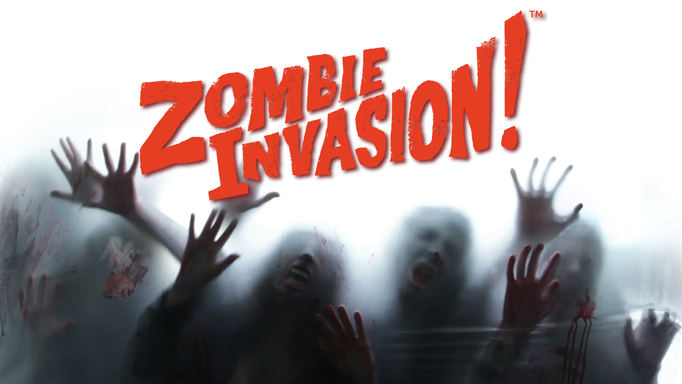
Our Zombie Invasion! Containment Unit van that we drove around San Diego during Comic-Con has been stirring a lot of questions within the community. It’s a great example of how, with our digital decorations and a little bit of creativity, you can create something unique that is sure to shock.
The idea of using our products to create a mobile spectacle was first presented by AtmosFEARfx’s co-founder, Pete, and then bounced around the team. We brainstormed about what the spectacle would be; would we project on various buildings downtown or what? Once we came up with the idea of creating the illusion of having a containment van full of zombies, our next question was, “Great, now how do we do this?”
It's All Rear Projection
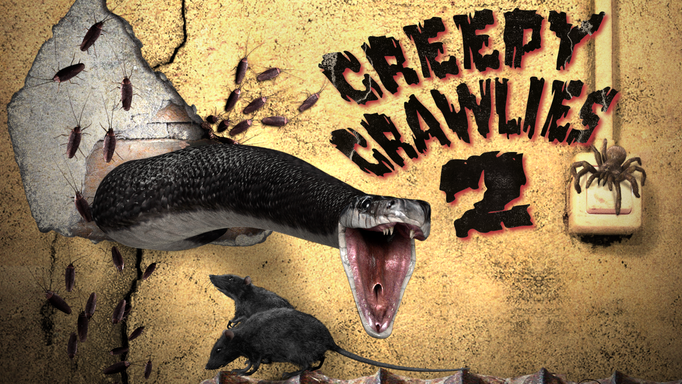
People have been setting up our products to display via rear projection for years because it is easy to manage, set up and create a realistic experience. From something as simple as projecting Shades of Evil through window curtains or as complicated as designing a whole false floor for Creepy Crawlies 2, our fans are always coming up with new and interesting ideas.

Custom Rear Projection
The most important component to setting up a hauntingly real rear projection is choosing the right material to project through. Depending on projector strength and level of darkness you’re working with, a multitude of materials can work. People have used everything from bed sheets to paper to vinyl, so we recommend testing around and being imaginative. Specifically for our van, we needed a material with enough opacity to display through, flexible enough to mold against curved surfaces and clear enough to not be discernible from an actual window.
We discovered frost tinting, which can be purchased at your local hardware store or plastics provider (if you can’t find it, ask your local auto shop where they get their window tint materials). Frost tinting is similar to window tinting on a car and can be custom cut to fit any window surface. When applied, the material blends into the window seamlessly. For a 15 passenger cargo van, we purchased eight feet of frost tint material.
*Warning* Frost tinting is meant for permanent application and can be difficult to apply without experience or help. If you want to create a permanent installation but are unsure of performing this task yourself, contact your local auto specialist. Our solution for creating a temporary projection was using 3M 77 adhesive spray, which can be cleaned off the glass with any household degreasing product.

Applying Temporary Frost Tinting
Cut a section of frost tinting that is one inch beyond each edge of the window (e.g. if you are working with a 5”x5” window, you want to cut a section of 7”x7”). Lightly spray the edges and corners of the window with 3M 77 adhesive spray. Lay out the tinting on the window, which will adhere due in part to the adhesive spray and static friction. Using a razor blade, carefully cut the edge of the tinting to the edge of the window. It is OK to cut a few millimeters beyond the edge of the window as you can tuck any extra tinting between the window and window jamb.

Power
Our van housed three projectors, three DVD players and two sets of speakers. Running all of these devices with clean regulated power was another issue we needed to solve for. Due to the required power we needed, our solution was locating a generator rated for multimedia use. After crunching the numbers and counting watts, we realized we needed a power source that could handle a minimum of 1500W continuous power.
Option #1: Gas Generator
- Benefits: Easy to run, cheap to rent and nine hours usage time
- Risks: Noise level and evil CO gases inside an enclosed space
Option #2: Power Inverter
- Benefits: Cheap and requires minimal space
- Risks: Constant need to run the vehicle; need to punch through the front vehicle firewall; high risk of draining the van battery
Option #3: Construction Rated Battery Generator
- Benefits: Clean power, quiet, rechargeable and no toxic CO exhaust
- Risks: Full day recharge rate; only four hours usage time; overall concerns about the unreliability of charges
We ended up going with Option 1, which was a little frightening due to the risk of poisoning our whole team with carbon monoxide fumes. Option 2 was nixed because it had too many minor risks, mainly punching a hole in the firewall of a rented vehicle. If we had more time and resources, I would have liked to explore Option 3 and test various high-power rated battery generators, but time and resources limited this. For all intents and purposes, Option 1 was a good solution, as long as we could locate a compact and quiet generator.
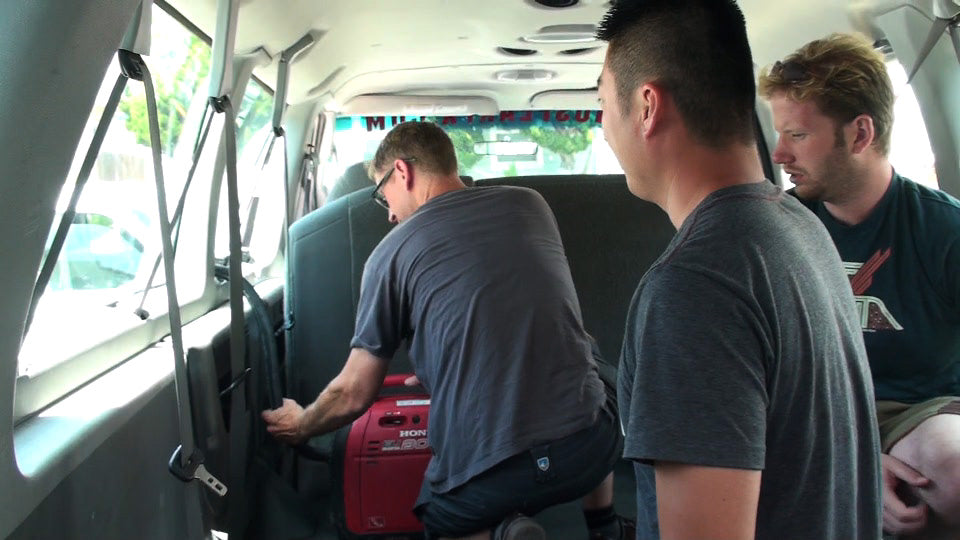
The gas generator chosen was the Honda EU2000i, which is compact, light, quiet (rated 59db) and long lasting (9 hours on a full tank). To solve for the carbon monoxide problem, we purchased 8ft of hi-heat auto exhaust piping, which was clipped to the generator exhaust port and fed out a side window.
To negate any power spikes, everything was plugged into a standard surge protector, but a better (and pricier) solution would have been to also have a UPS for clean power.
*Warning* Check with your local city, county and state laws on running a gas generator within the confines of a vehicle or small space. Carbon monoxide poisoning is a real life-threatening risk.

Placement
The Ford E350 15 passenger Econoline van is a seriously big vehicle and rated as a bus by size. But even after taking out all of the passenger seats, we were only left with 4’x6’ of space to work with. Not only did we have to fit three projectors, three DVD players, a gas generator and all the cables and cords to go with, we had to ensure each projector was in a location able to project across a designated 5’ wide area. Additionally, we had to sit five people in this vehicle (comfortably and legally) and drive this crazy contraption across the California freeway and downtown San Diego area.
Having a set of short throw projectors, which are easily available at your local electronics store or online, made hardware setup and placement loads easier than having to deal with standard throw video projectors. If you are attempting to duplicate this setup within your own vehicle, you should test the projection distance you require before making any vehicle alterations.
After determining each projector’s location, we locked everything in place using straps and tie-downs. Because this was a temporary installation, we could not bolt our hardware to the van, which would have been preferred. Additional vehicle customization included moving seats, seatbelts and other obstacles out of the way of hardware and projections.
One tip when working on a multi-device setup is smart cable management: Taking the time to make sure cables are out of the way and easy to distinguish and access will save you future headaches.

Other Notes and Warnings
If you decide that you’d like to take on the challenge of projecting effects inside of your vehicle, here are some things to pay attention to.
- Check what your local laws are regarding vehicle modifications and customizations. Frost tinted windows reduce overall driver visibility, which may catch notice from local law enforcement. If you’re not sure, consider calling your local police department
- Heat was definitely an issue. Due to all electronic devices running and a full gas generator, all windows were kept open to cycle air throughout the vehicle. High heat can cause projector bulbs to prematurely fail or die and also increases the risk of fire
- Carbon monoxide poisoning is no joke. If, for whatever reason, you are using a gas generator and feel dizzy, nauseous or tired, turn off the generator and leave the room immediately. AtmosFEARfx does not condone any irresponsible use of gas generators. Please read and follow all directions and recommendations found within your power generator operations manual.
- You are responsible for any modifications you make to your own vehicle.
Once you've worked out all of the details and your device placement has been determined, it’s time for the moment of truth! Re-check all of your cables, turn everything on and prepare to scare!
End Thoughts
This was a challenging and rewarding project for our team to take on, but I am extremely happy with the end result. The Zombie Invasion! Containment Unit was a perfect example of how, with a little bit of imagination, you can take any of our digital decorations and create something unique, amazing and scary-cool. (If you haven't seen it in action yet, check out this behind-the-scenes video from Comic-Con.)
If you have any questions, sound off on our Facebook page. We would also love to hear your own ideas and AtmosFX DIY projects, so if you've done something cool with our effects, share them with us!


