Whether you’re still in the planning stages of your Halloween display, or if you’re ready-to-go but looking for that little extra something to ensure your decoration display becomes the hit of the neighborhood, we’ve got some more decorating tips for you. In this article, we’ll help you create incredible, atmospheric experiences that are sure to “wow” your friends, family and visitors.
In this Digital Decorating 101 article, we’ll show you how you can use your projector to pull off one of our favorite effects – the always-impressive Hollusion! (Updated June 2023)
Check out this video to see our Hollusions in action!
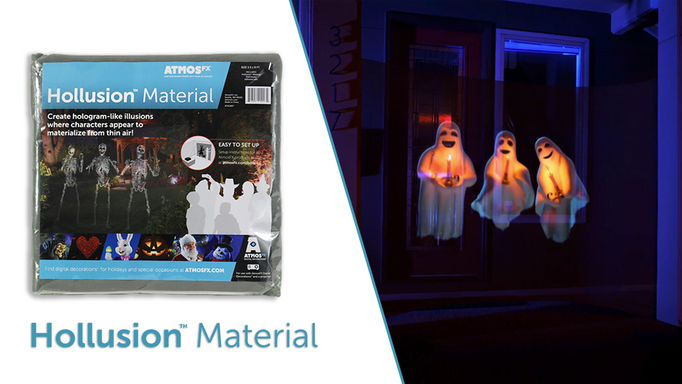
Hollusions: holographic illusions made easy
If you’ve ever been to Disney’s Haunted Mansion, you’re probably familiar with their awesome “holographic” ghosts. By using a classic theatre technique called a Pepper’s Ghost effect, they’re able to create specters that seem to magically materialize out of thin air. While these types of displays are incredibly effective for serious haunt setups, they’re not always practical for everyday decorating.
- Don’t forget: The Hollusion effects described in this article focus on Halloween, but know that you can also create stunning Hollusions any other time of year, including Christmas, Easter and Independence Day!
That’s where our flavor of holographic illusions – the “Hollusion” – really shines. Hollusions create an effect similar to the Pepper’s Ghost effect, but require fewer materials and much less time and effort to set up – all you’ll need is a projector and semi-transparent material. When an AtmosFX Decoration is displayed in “Hollusion Mode” is projected onto the material’s surface, the background will melt away and the digital character will float to a vivid, animated life.

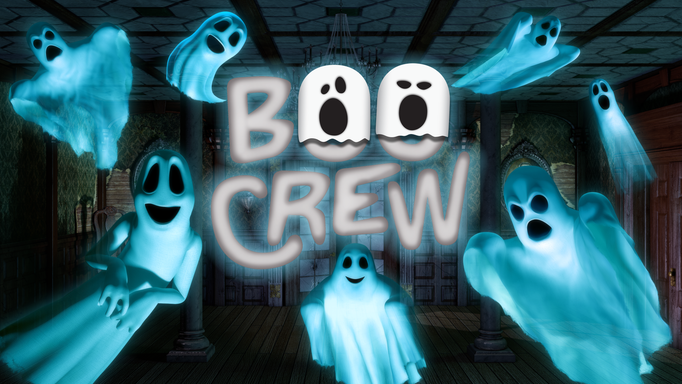
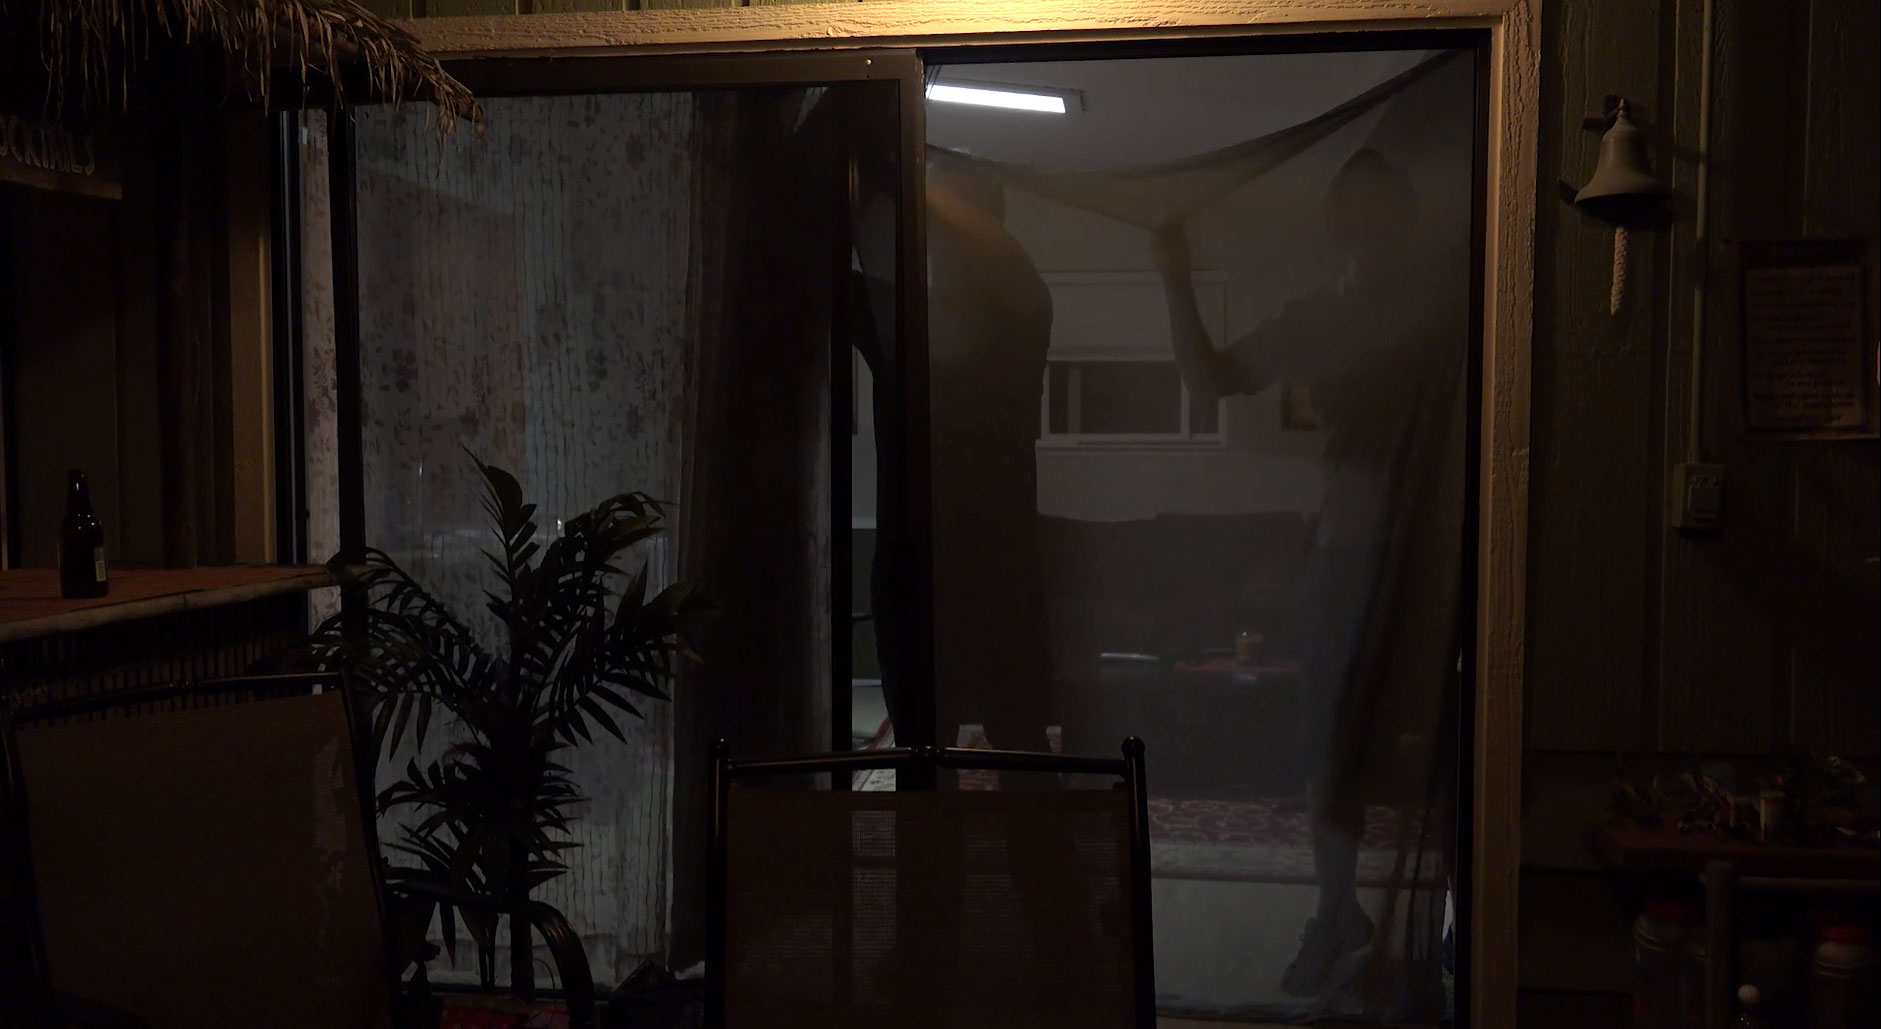
The ghosts of Boo Crew Decoration Collection appear to inhabit a hallway when projected onto Hollusion Projection Material that is hung in the doorway.
While a variety of materials may work for Hollusion displays, for the best results, we recommend using AtmosFX’s Hollusion Projection Material. This particular fabric was designed specifically for Hollusion projections. Its off-grey color helps it blend into dark environments, making it seem almost invisible in low-light conditions. At the same time, it does a great job holding the projected image, showing off as much detail as possible.
To help you get started, here are some of our favorite types of Hollusion displays.
Doorway and archway displays
One of the easiest ways to display Hollusions is by using an existing doorway or archway. These open spaces provide you with a ready-made frame for your projection, and they’re a great way to create the illusion that your character is floating between rooms.

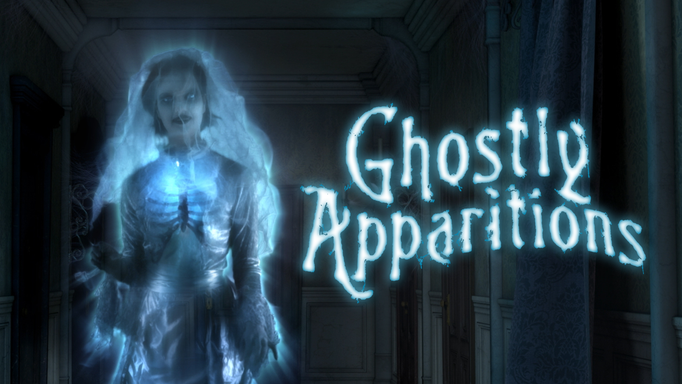
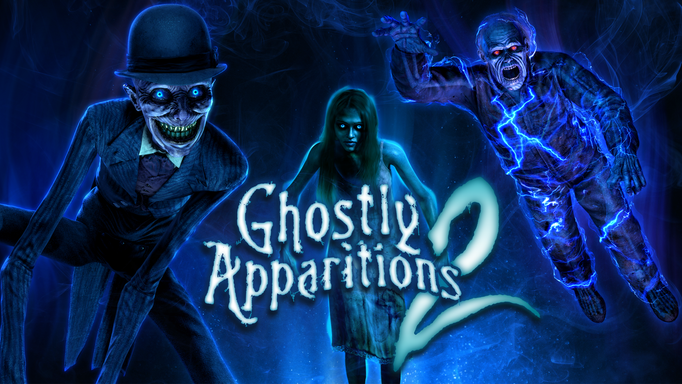
Indoors or out, doorways are great places to set up a Hollusion effect. Here, the ‘Diabolic Debutant’ from Ghostly Apparitions 2 Decoration Collection haunts the porch.
To get started, choose a doorway or archway that your guests won’t be walking through. Create your projection surface by attaching your sheet of projection material to the non-visible side of the frame with tacks or adhesive tape.
For most displays, you’ll want to pull the fabric tight on all sides to create a flat surface on which to project, but also feel free to experiment – for ghostly scenes, gentle folds can provide an additional 3D effect.
Secure your projection material to the inside of your door or archway.
Once your material is in place, it’s time to set up your projector. While Hollusions can be either rear or front projected, we recommend rear projecting when your display is in a confined space like a short hallway or smaller room. Depending on how bright your projector is and how close your material is to a flat surface like a wall, front projecting can cause your image to be displayed on both your projection material and the surface behind it, causing a distracting double image.
To hide your projector’s light beam, which can spoil the illusion for your guests if it can be seen through the projection material, try positioning it off to the side so it’s out of sight. If you notice that your character is skewed when projected at an angle, use your projector’s keystone correction to adjust the shape of your image.
Open room displays
When you’re creating an indoor Hollusion display, you’re not limited to doors and archways – Hollusions also make fantastic open room decorations!
Pick a location that’s several feet from a wall and hang your sheet of projection material from your ceiling with a curtain wire and clips. (We’ve also found that simple tacks or fishing line works great, too.) When the lights are out, your projected character will look like they’re standing (or floating) in the room.

The ‘Ghoulish Girl’ from Ghostly Apparitions Decoration Collection haunts the room.
As an added tip for those of you with higher ceilings, remember that your projection material doesn’t have to touch your floor. Try using a shorter piece of material and a Hollusion scene like ‘Ghoulish Girl’ from Ghostly Apparitions. By placing your projector on a nearby tall shelf and lining up your projected image with the top of the fabric, you’ll be able to create the realistic illusion of a spectral child levitating over your guests’ heads!
Outdoor displays
Hollusions aren’t only for indoor use – they also make incredible nighttime displays outside!
Attaching a sheet of projection material to the frame of your gazebo, arbor or arched trellis will create an awesome backdrop for characters, creating the illusion that they’re standing under or inside of the structure. Try taking things a step further by adding cobwebs, spooky fabric and other Halloween props to your scene to create an unforgettable experience for your visitors.

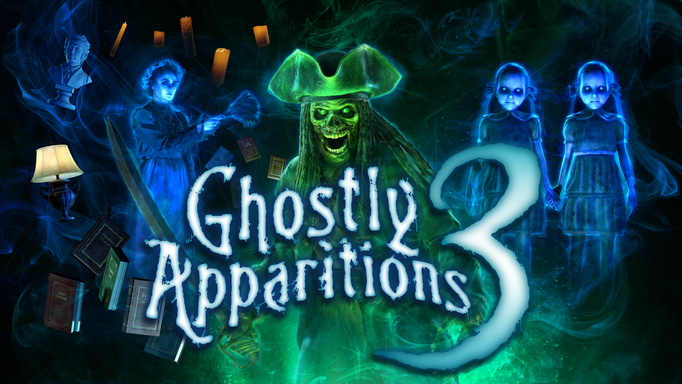
If you don’t have a gazebo or similar frame on which to hang your Hollusion Projection Material, you can always hang the material between two trees, buildings or similar. Here, a Hollusion using Ghostly Apparitions 3 Decoration Collection makes a bold statement.
If you don’t have a gazebo, arbor or trellis, you can create your own Hollusion projection screen by picking up two large stakes from your local hardware store, sinking them into the ground, and stretching your projection material between them. For best results, choose stakes that are dark-colored or can be painted – you’ll want them to blend into the background at night so your guests can’t see them sticking out of the ground.
While we recommend rear projecting for indoor use, front projecting can also work great for outdoor displays – especially if you’re working with a large, open space that has no solid objects behind your projection surface. When you front project, a creatively placed prop can be used to hide your projector, keeping it out of your guests’ view. You can also hide your projector’s light beam from your view, which is especially important for nighttime displays.
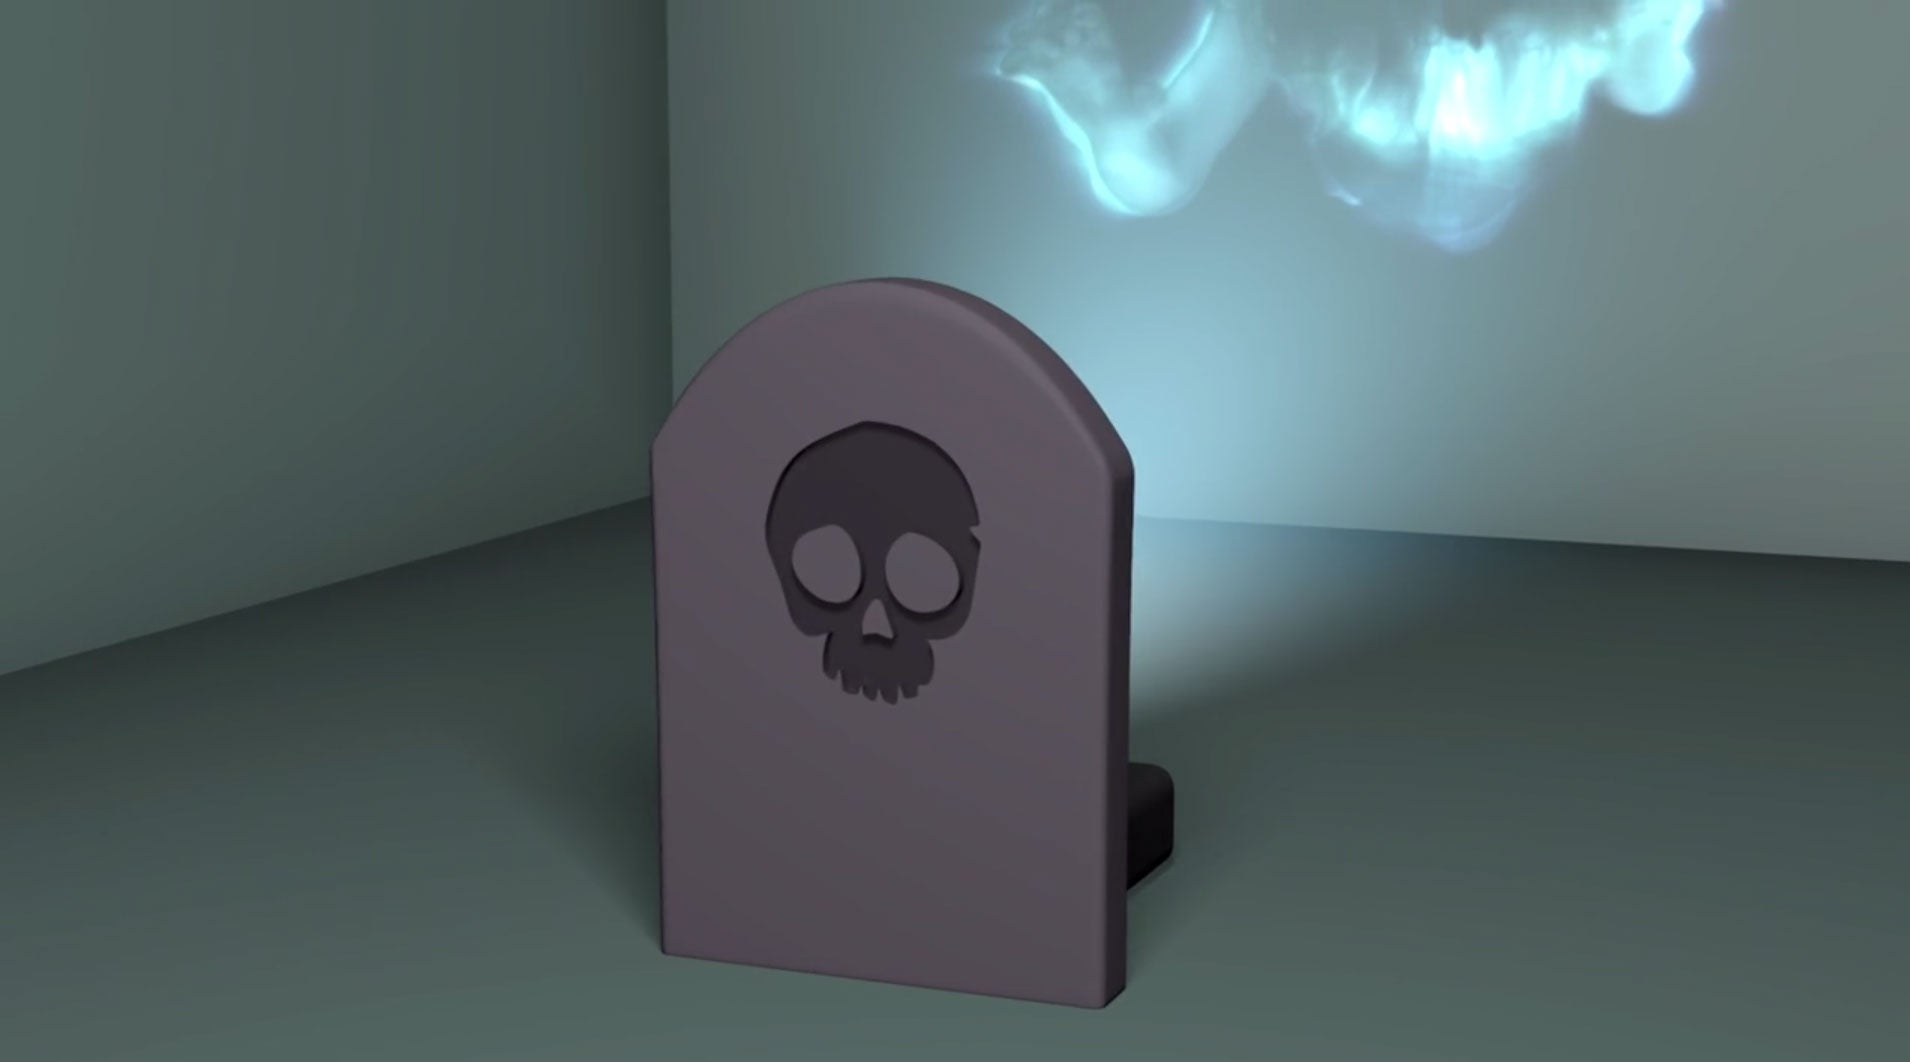
Prop tombstones are especially great for hiding projectors.
Creating a haunted graveyard
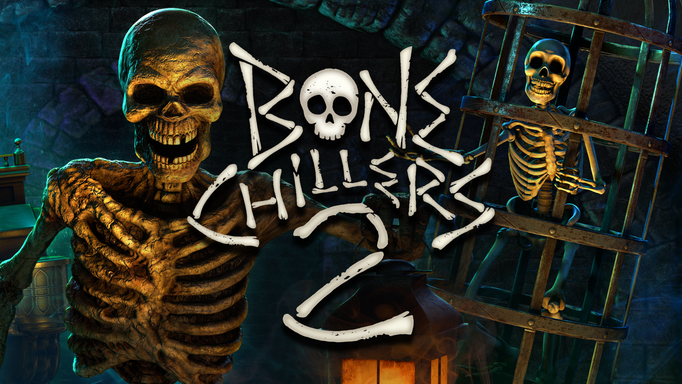
One of the easiest, high-impact outdoor Hollusion displays you can create is the haunted graveyard. By using a scene like ‘Pop-up Panic’ or ‘Skeleton Surprise’ from Bone Chillers Decoration Collection, you can spook your visitors with a host of skeletons springing from their graves.
To get started, pick a location in your yard that’s away from any bright lights that may interfere with your projection. Set up one of the Hollusion projection screens that we outlined above, and place your projector in front of the screen. For this particular effect, it’s important to create the illusion that your skeletons are rising out of the ground, so when you position your projector, make sure that the bottom of your projected image lines up with the bottom of your projection material.

When you're projecting skeletons from Bone Chillers, preserve your illusion by making sure their feet are touching the ground.
Once your skeletons are in place, place tombstone props around your projection to really sell the graveyard effect. For extra ambiance, consider adding small ground spotlights to light the front of each headstone – they’ll give some extra brightness to your display without interfering with your projection.
And there you have it – an instant graveyard, complete with realistic, animated skeletons!
As a final reminder, again – always try to hide your projector! If your guests can see how you’re creating your effect, it will lose its impact. Like we mentioned in our surface projections article, a cleverly placed piece of furniture or a Halloween prop should do the trick nicely.
A quick tip about character sizing
If you’re creating a Hollusion effect that features ghosts, skeletons, witches or other humanoid characters, make sure that the image you project is roughly life-size – if your projector is positioned too far back, your characters may appear too large, which can spoil the illusion. While the exact placement of your projector will depend on factors like its throw distance, you’ll want to adjust its location to create an effect that’s a believable size.

Projecting specters at realistic sizes creates the illusion that they’re standing in the room with you and your guests.
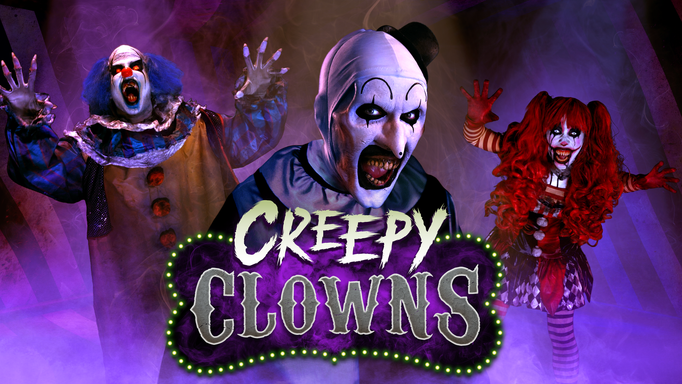
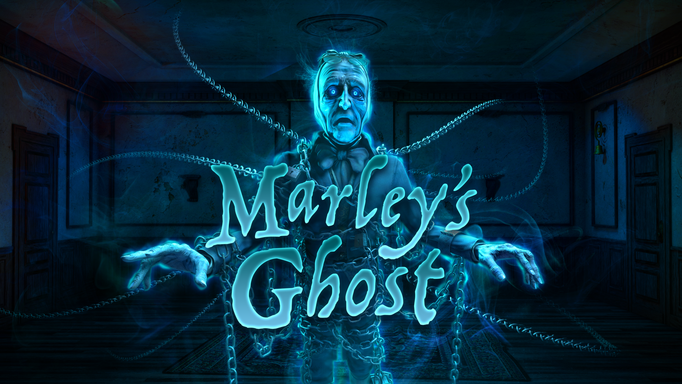
Whether you’re decorating inside for a party or creating fantastic yard or porch displays, the unique and easy-to-use Hollusion scenes can be found on all of our most recent Halloween-themed AtmosFX Decorations, including Ghostly Apparitions 2, Ghostly Apparitions 3, Creepy Clowns, Eerie Eyes, Bone Chillers, Bone Chillers 2, Phantasms, Boo Crew, Paranormal Passage, Marley’s Ghost, Halloween Hosts, Ghostly Pets and Legends of Halloween. Every one of these decorations will provide you with stunning results. Now, get creative and have fun with them!
Have you created any cool Hollusion displays? We’d love to see what you did! Send us your photos or videos using this easy submission form.