In our ongoing “Digital Decorating 101” series, we would like to show how to use your projector to create eye-catching Halloween displays by projecting them directly onto walls, floors, props and other solid surfaces. (Updated August 2023)

With poltergeists appearing to break through a wall, Paranormal Passage Decoration Collection is extremely well suited for surface projection.
Projecting onto walls
When it comes to solid surface projecting, using your wall is about as easy as it gets. Since walls are generally flat and often have a lot of open space, they make a perfect canvas for projection effects. While you can get great results by projecting AtmosFX Decorations directly onto your wall, here are a few ideas that will help you take your displays to the next level.
And don’t forget, while much of this article focuses on surface projections that you can create inside your home, there’s absolutely no reason why you cannot also do the same outside your home! Think of any surface as a canvas onto which you can create a spectacular and vivid decoration display.
Garage doors are perfect for places for outdoor surface projections. Above, AtmosFAN Rick L. creates a “tunnel” that approaches Hall of Haunts Decoration Collection displayed on his garage door. The effect makes it feel like the viewer has entered a cavernous haunted mansion.
Light surfaces are better for projecting
When you’re thinking about which wall you’d like to project onto, keep in mind that lighter colors work best for displaying images – especially ones that that have a lot of colors and detail. So, if you have a choice between using a light-colored wall and one that’s a darker color, try the light one first.

'Head of the House' from Ghostly Apparitions Decoration Collection materializes through a wall.
Creating a haunted gallery
Even if all of your walls are dark, with a little creativity, you can still create awesome illusions! One of our favorite wall displays is the haunted portrait gallery, which looks especially cool on dark or patterned surfaces. All you need for this effect is your projector, a copy of UnLiving Portraits Decoration Collection, white poster board, and a large picture frame.

For extra decorating flexibility, each of the portraits from UnLiving Portraits Decoration Collection have both horizontal and vertical display modes.
To get started, remove the glass or plastic from your frame to eliminate glare, then line the inside with a piece of thick white paper or poster board. Hang the frame on your wall, point your projector at the middle of the white space, and adjust its positioning so the image fills the frame.
Since it’s likely that people will want to walk up and view your new gallery up close, you’ll want to make sure that they’re not spoiling the illusion by standing in front of your projector’s light beam. If you’d like to point your projector straight at your wall, try setting it on a tall piece of furniture and angling the beam down. Or, you can place it off to the side on a shelf and angle it toward your frame. Since your image is now being projected onto the wall at an angle, it may look like a distorted trapezoid. However, many projectors have a feature called “keystone correction” that will allow you to correct this. By adjusting the keystoning on your projector, you’ll be able to adjust the proportion of your image, allowing it to display properly even when not pointed directly at your surface.
Depending on the amount of space you have to play with and how creative you’d like to get with your decorating, there are many different ways you can configure a gallery display.
If you have a large wall, consider setting up three frames and using one of UnLiving Portraits’ “trio” effects, which allows you to project three different portraits at the same time. The extra cool thing about our portrait trios? The paintings actually interact with each other! Your guests will love watching characters leave their frame and invade other character’s frames ... for sinister purposes.

A trio of portraits from UnLiving Portraits Decoration Collection displayed in a set of store-bought frames.
If you can’t find the perfect sized frame for your display, building one is easy. Pick up some inexpensive wall trim or window molding from your local hardware store and cut it to size. Once you’ve built the frame, you can customize it to fit the look you’re going for by distressing it with paint or wood stain to create an antique portrait look. When you’re done, attach your paper or poster board to the back, add a simple picture hanger, and voilà – you’ve got a custom frame that will be perfect for your display!

Create your own frame by cutting molding to size and staining it to fit your decor.
If you’d like to create your own gallery but don’t have the time to buy or build a frame, don’t worry – all of the portraits on UnLiving Portraits also come with a framed mode. By selecting this option, your decoration will be projected inside of a digital frame. Just cut your paper or poster board to size, attach it to your wall, and you’ll be ready to go!
And for those who love the idea of creating a creepy portrait gallery and simply want more, ‘Possessed Portrait’ from Paranormal Passage is a great scene to add to your gruesome gallery. Another great option is UnLiving Portraits: Halloween Hosts Decoration Collection. This decoration features another strange gallery just like UnLiving Portraits, but with the popular characters from Halloween Hosts Decoration Collection. You can combine the scenes from both UnLiving Portraits decoration collections, giving you twice the content to display on your wall.

Add to your gory gallery with ‘Possessed Portrait’ from Paranormal Passage Decoration Collection.
Decorating over everyday decor
If you don’t have a full wall to dedicate to decorating (or if you don’t want to take your family pictures down for Halloween), you can still use AtmosFX Decorations to create fantastically spooky displays. As an easy example, try projecting one of the scenes from Shades of Evil Decoration Collection onto your wall in “lightning mode.” This mode uses periodic flashes of light to simulate the effects of a storm taking place outside, which creates a shadowy illusion that’s perfect for displaying over any surface.

Shades of Evil Decoration Collection’s lightning mode creates a spectacularly creepy illusion that’s great for projecting onto occupied surfaces.
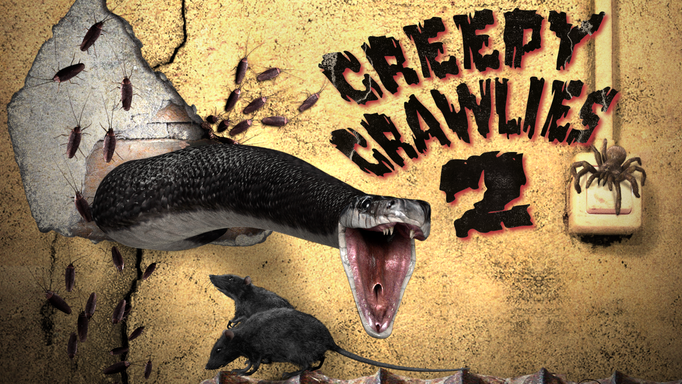
The “flashlight,” “spotlight,” and “candle” scenes in Paranormal Passage and Sinister Shadows decoration collections also allow you to project over everyday decor. The decorations make it appear that someone is using the light of the flashlight (or spotlight) to illuminate eerie creatures trying to break through the surface. Or, for an extra creepy effect, use Creepy Crawlies 2 Decoration Collection to project spiders or roaches onto your wall or floor. It will give the illusion that your walls (and wall decorations) are infested with a swarm of arthropods.
Put your characters in the corner
If you’re displaying a decoration that features a character like a skeleton or ghost, try projecting it into a corner. This creates a really cool optical illusion that makes the character seem almost three-dimensional.

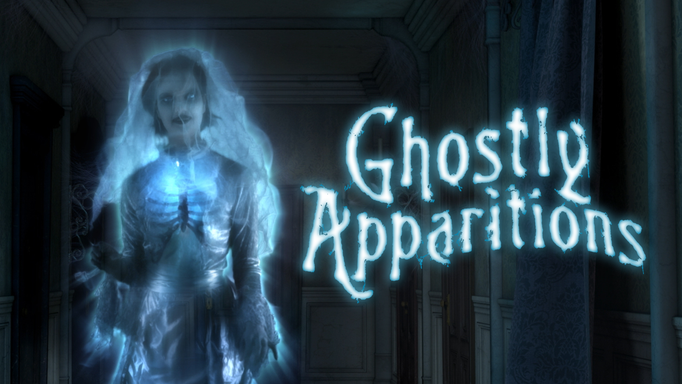
Projecting a specter from Ghostly Apparitions Decoration Collection into a corner will create a realistic 3D effect.
Projecting onto floors and ceilings
Don’t forget that floors and ceilings make great projection surfaces, too! Try taking your guests by surprise with a ghost that materializes over their heads or a horde of zombies that comes clawing through the ceiling.

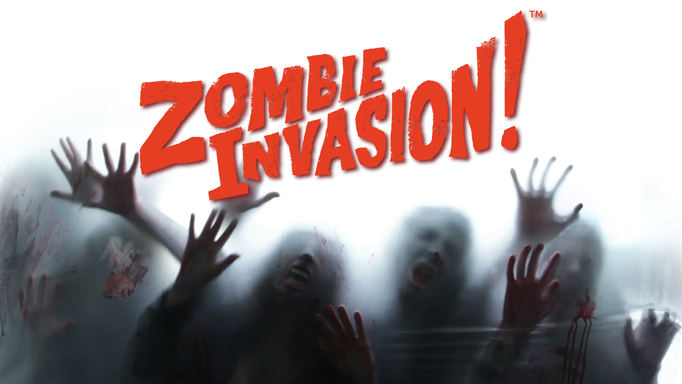
Project ‘Plaster Disaster’ from Zombie Invasion! Decoration Collection onto your ceiling and enjoy your guests’ reactions.
Or, for added scares, light the path to your bathroom by projecting spiders or roaches on your hallway floor. You’ll love watching your guests jumping around trying to avoid the swarm.

Crawling spiders from Creepy Crawlies 2 Decoration Collection will send your friends screaming.
Projecting onto props
When it comes to surface projections, you’re not limited to walls, floors, and ceilings – with a little creativity, you can project eye-catching effects onto ANYTHING solid! Standard, store-bought Halloween decorations are especially great for this purpose. By using your projector, you’ll be able to transform ordinary static props into extraordinary full-motion displays.
Singing pumpkins
If you want to create a memorable experience for your trick-or-treaters, setting up a singing pumpkin trio is a great way to leave a lasting impression. All you need is your projector, Jack-O’-Lantern Jamboree or its sequels Jack-O’-Lantern Jamboree 2 and Jack-O’-Lantern Jamboree 3 decoration collections, and three pumpkins. (Both real and artificial pumpkins work great, but if you’re planning to display this effect outside, be sure to attach artificial pumpkins to their surface with sticky tape so they don’t tip over in the wind.)
See how we created our singing pumpkin trio using real pumpkins and a scene from Jack-O’-Lantern Jamboree Decoration Collection.
Infested tombstones
For haunted graveyard displays, projecting spiders or cockroaches from Creepy Crawlies 2 directly onto tombstone props will provide you with an amazingly realistic effect. And, as an added bonus, the light from your projector will illuminate your headstones, allowing them to be seen at night. To preserve the illusion and keep your guests guessing, be sure to place an extra tombstone behind your projector so it’s hidden from view.
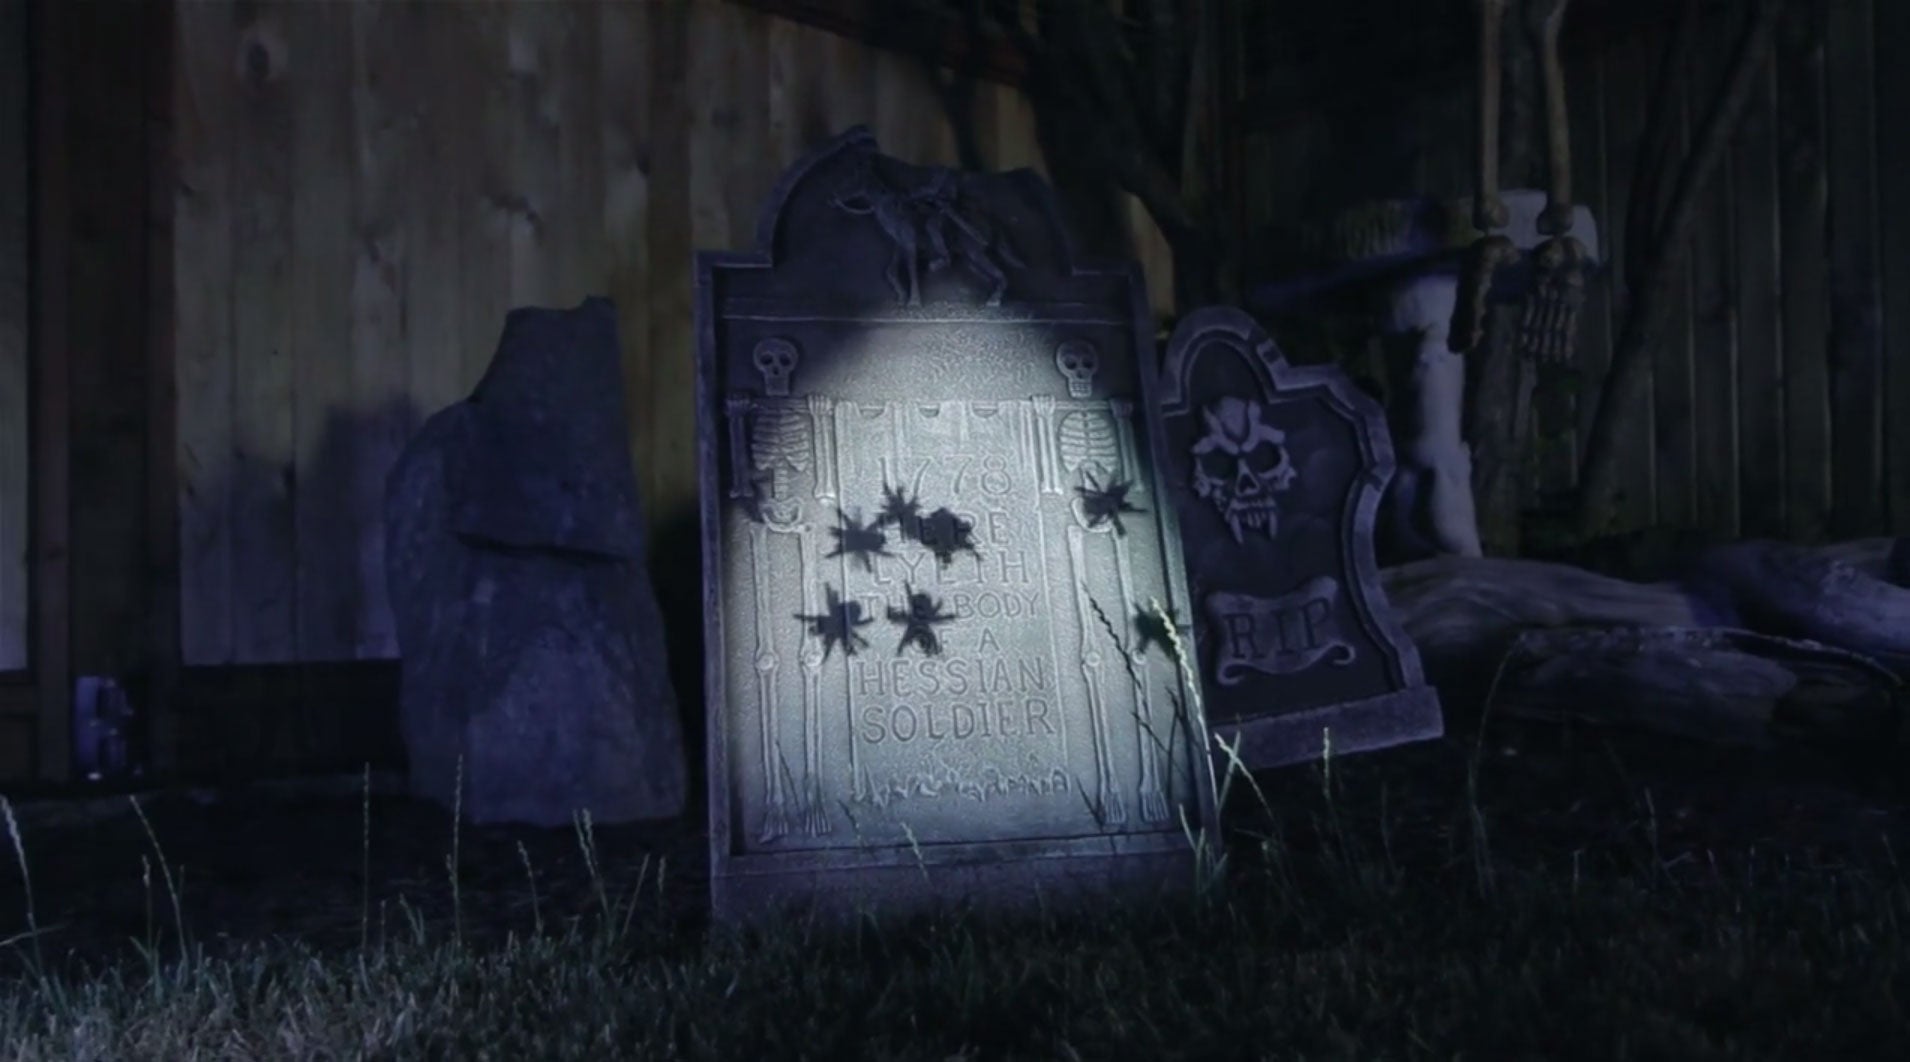
Spiders from Creepy Crawlies 2 Decoration Collection make a great addition to any tombstone prop.
Using the 3DFX Form
Projecting onto AtmosFX’s 3DFX Form qualifies as prop projection, too. For those who have never seen it, the form is an easy-to-inflate vinyl form that is about the size and shape of a life-size mannequin. When covered with the included projection shroud, it is the perfect size and shape for creating a life-like character. When any 3DFX Mode effect is projected onto its surface, the form springs to life. There are several AtmosFX Decorations that are optimized for the 3DFX Form.

Santa Claus will welcome your holiday party guests when you project Night Before Christmas Decoration Collection onto AtmosFX’s 3DFX Form.
We don’t want to spend too much time discussing projecting on the 3DFX Form here – we have another how-to guide discussing exactly that. Click on the link to go to Digital Decorating 101: 3DFX Form.
Surface projection tips
Now that we’ve given you some decorating ideas, here are a few final pieces of advice we’d like to share.
Get creative with your placement
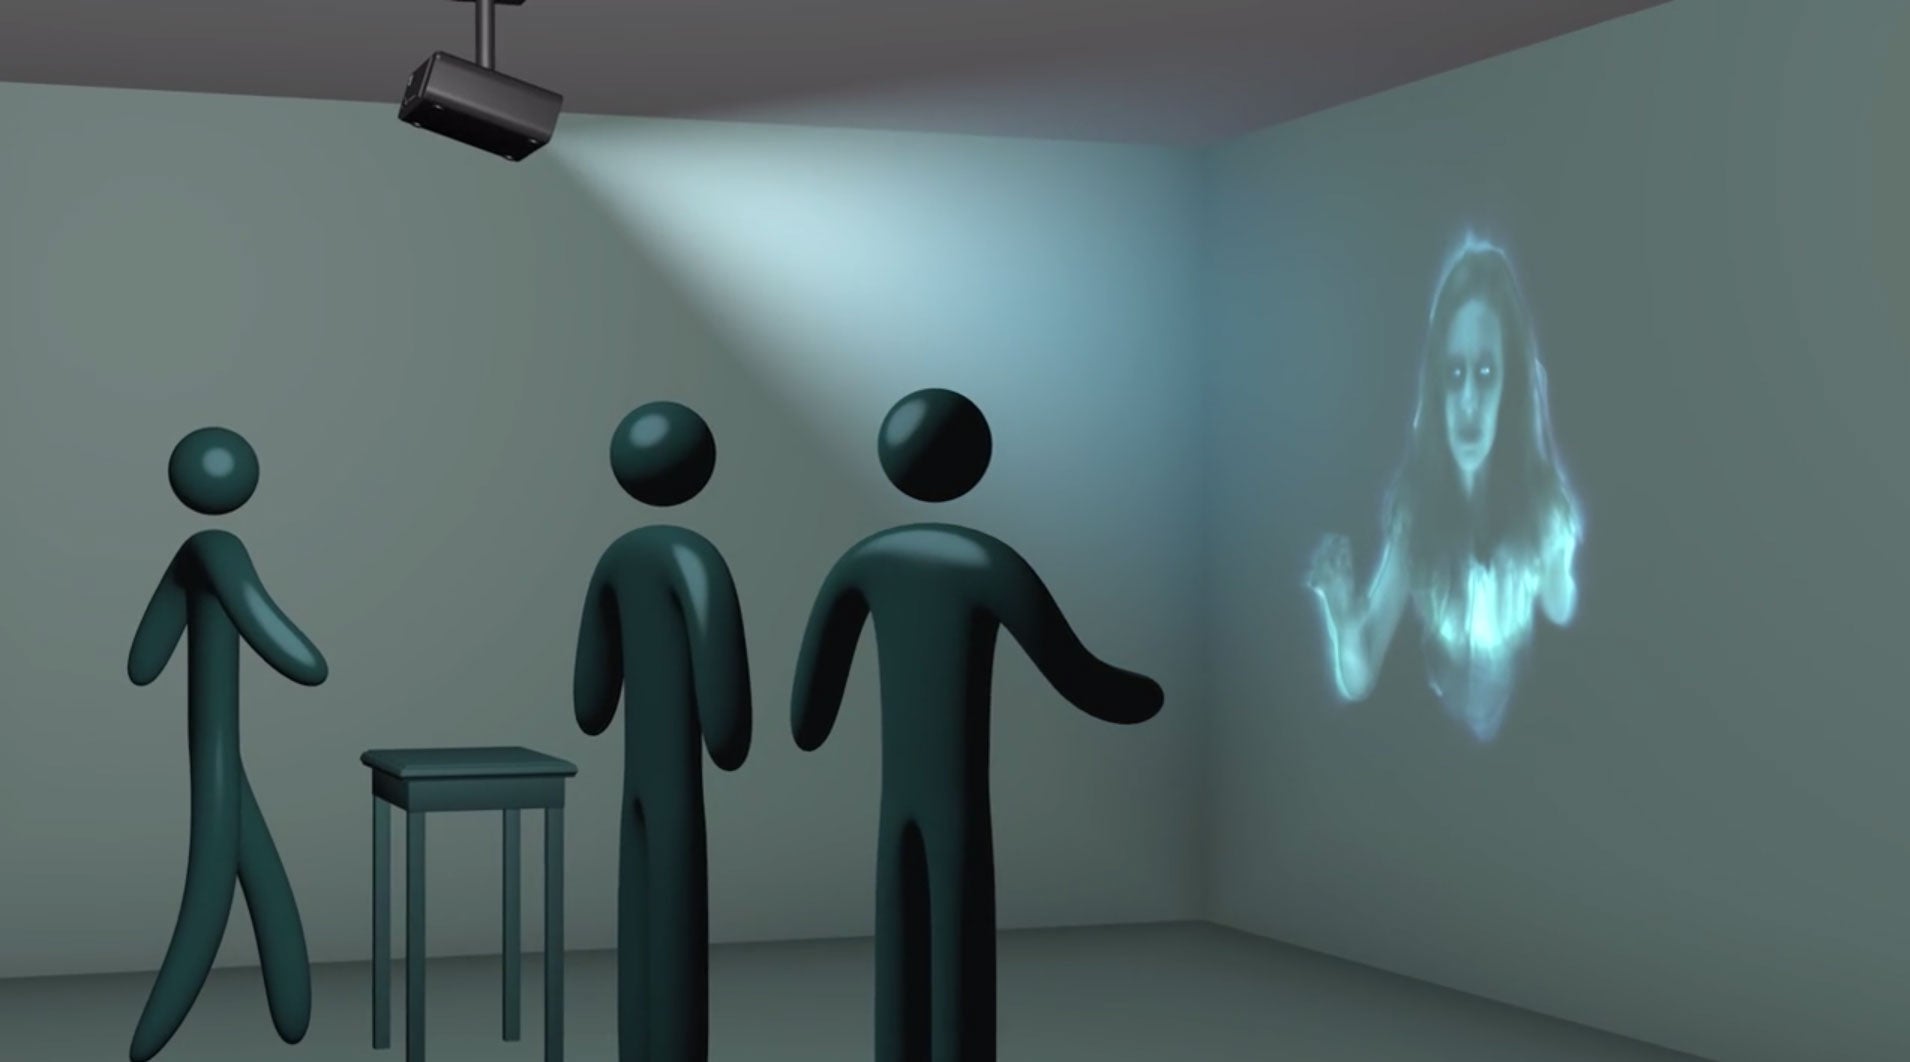
When you’re creating realistic illusions, creative projector placement can make all the difference. If you’re decorating inside for a party, think about where your guests will be walking, and make sure that your projector is set up in a place that won’t have constant traffic in front of its light beam. Strategically placing your projector on a tall bookcase and angling the beam down at your wall or setting it up on the side of your room and angling it toward your wall will prevent your friends from interrupting your image (and getting blasted in the face with bright light).
Hide those projectors
As another tip, always try to keep your guests guessing by hiding your projector from view – if they’re not sure how you’re creating your effect, the result will be even more magical. A strategically placed Halloween decoration positioned behind or to the side of your equipment will do wonders for improving your illusion.

Have you created any cool displays by projecting AtmosFX Decorations onto surfaces or props? We’d love to see what you did! You can send your photos and videos directly to us using this handy submission form!