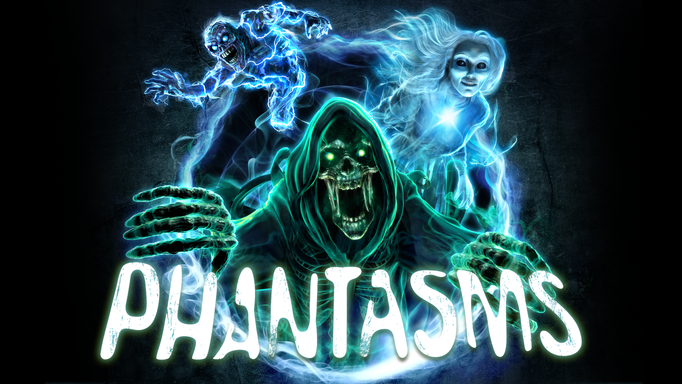
If we could, we’d just catch a Poltergeist. But species-importation regulations in the Netherworld being what they are, the team at AtmosFX decided it’d be easier to create one. This creature will be one of four new menacing specters that will be included in AtmosFX’s 2015 release, Phantasms. With the help of co-founder Pete Williams, we thought we’d take a look inside a Poltergeist to see what the guts really look like.
Step 1: Character Concept & Design

First step is to design the look of the character. We do that with good ol’ pencil and paper. Once we settle on a sketch we’re happy with, shading, detail and color is then added. By the end of this step, we have a complete visual of the character to use as reference when we begin creating the 3D model.
Step 2: Modeling the Character in 3D

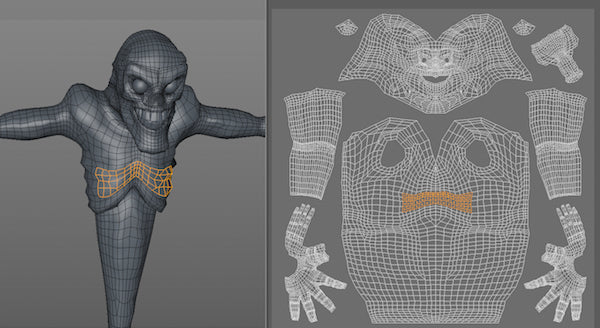
Modeling is kind of like sculpting. Instead of using clay, we use a computer program to bend and shape a series of polygons, the building-blocks of 3D animation. Usually, we'll start with a simple geometric shape, like a sphere. In the case of our Poltergeist, we pulled down on the original sphere to create something that looks like the shape of an exclamation point. You can see the polygons in that first image – they make up the “grid-like” pattern. From there, we continued pushing, pulling and extruding the points of the polygons to get the basic shape of the character. Next it’s time to subdivide the geometry, multiplying the number of polygons in the model. This exponential increase of polygons creates nice, smooth surfaces to work with – as you can see in the third image above.

Then, we begin fine-tuning our model by sculpting in all the little details – wrinkles, warts, crevices, etc. By the end of this step, we have a three-dimensional sculpt of our character. In the image above, you can see the sculpting tool near the nose – we’re about to further define the indentation on the upper lip.
Step 3: UV Mapping
The model is looking pretty naked at this point. So it’s time to create some textures. A texture map is essentially a two-dimensional image that gets shrink-wrapped to the 3D model. But before we can do that, the model needs a UV map.
UV mapping is the process of making a 2D image representation of a 3D model’s surface. Think of our Poltergeist as a gift in wrapping paper. For the UV map, we carefully unwrap the giftwrap and smooth it out, as if on a large table. This serves a road map for determining how the pixels in a 2D image will correspond to each and every polygon in our 3D model.
Step 4: Texturing

Once the UV map is in place, it’s finally time to create that texture map. First, we’ll start by virtually painting the basic colors of the character directly onto the model in 3D space. As we paint, the program will simultaneously generate a corresponding 2D image based on the layout of our UV map. Once this initial color layout is complete, we continue tweaking our texture map by bringing the painted 2D image into Photoshop to add extra layers of detail. Finally, the edited image map is then loaded back into our 3D software to “shrink-wrap” it back onto our model. At this point, the character is starting to look more like the concept art.
Step 5: Rigging
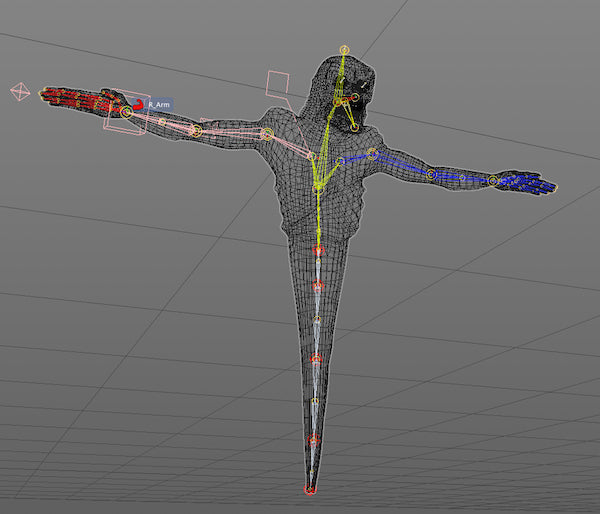
Next it’s time to rig the model for animation. This part of the process involves adding a skeletal system to the character. These virtual bones and joints will give our animators the ability to pose the character in any position. Once the bones are in place, we then setup a series of Control Objects that will drive them. Control Objects are essentially handles that our animators can easily select to manipulate the various joints in the character’s skeletal system.

Finally, it’s time to “weight” the geometry of the model to each and every bone. This step essentially determines which polygons are affected by which bones, and how much.
Step 6: Cloth & Hair
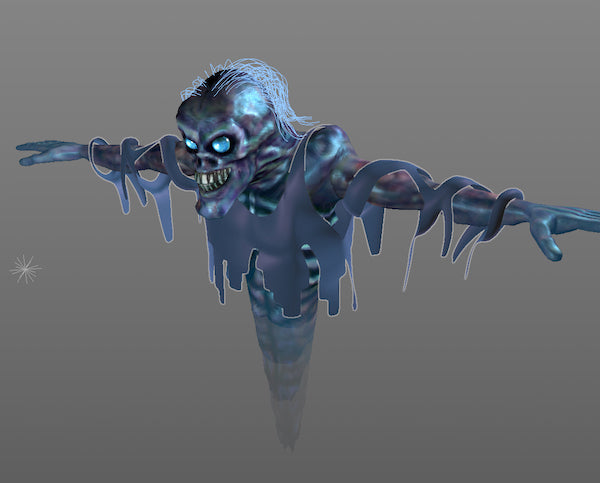
Next, it’s time to add some tattered cloth and hair to the model. These elements will be animated through simulations in the 3D software, reacting naturally to the physics of the scene.
Step 7: Final Rendering
And now we are here – the final product. Time to throw some virtual lights on this bad boy and see how he looks when fully rendered. From the moment we put pencil to paper, to the final 3D rendering, it took approximately 72 painstaking hours to complete our Poltergeist model. And that only covers the process of creating the character – it will take hundreds and hundreds more hours to move him around or place him in the many scenes that will make AtmosFX’s 2015 release, Phantasms, so frightfully entertaining.
Oh, and what does our final rendering of the Poltergeist look like? We almost forgot. You'll just have to see here!
>> What's next for our Poltergeist? Keep an eye on the AtmosFX News pages, the AtmosFREAKS Monthly Newsletter, or the AtmosFEARfx Facebook page in the coming weeks and will continue to detail the next steps for our Poltergeist – the animation process!


